
HOME »
Saltwater »
Tuna
» Top 3 Tuna Presentations - Sean Bekkers
Top 3 Tuna Presentations - Sean Bekkers
By Sean Bekkers
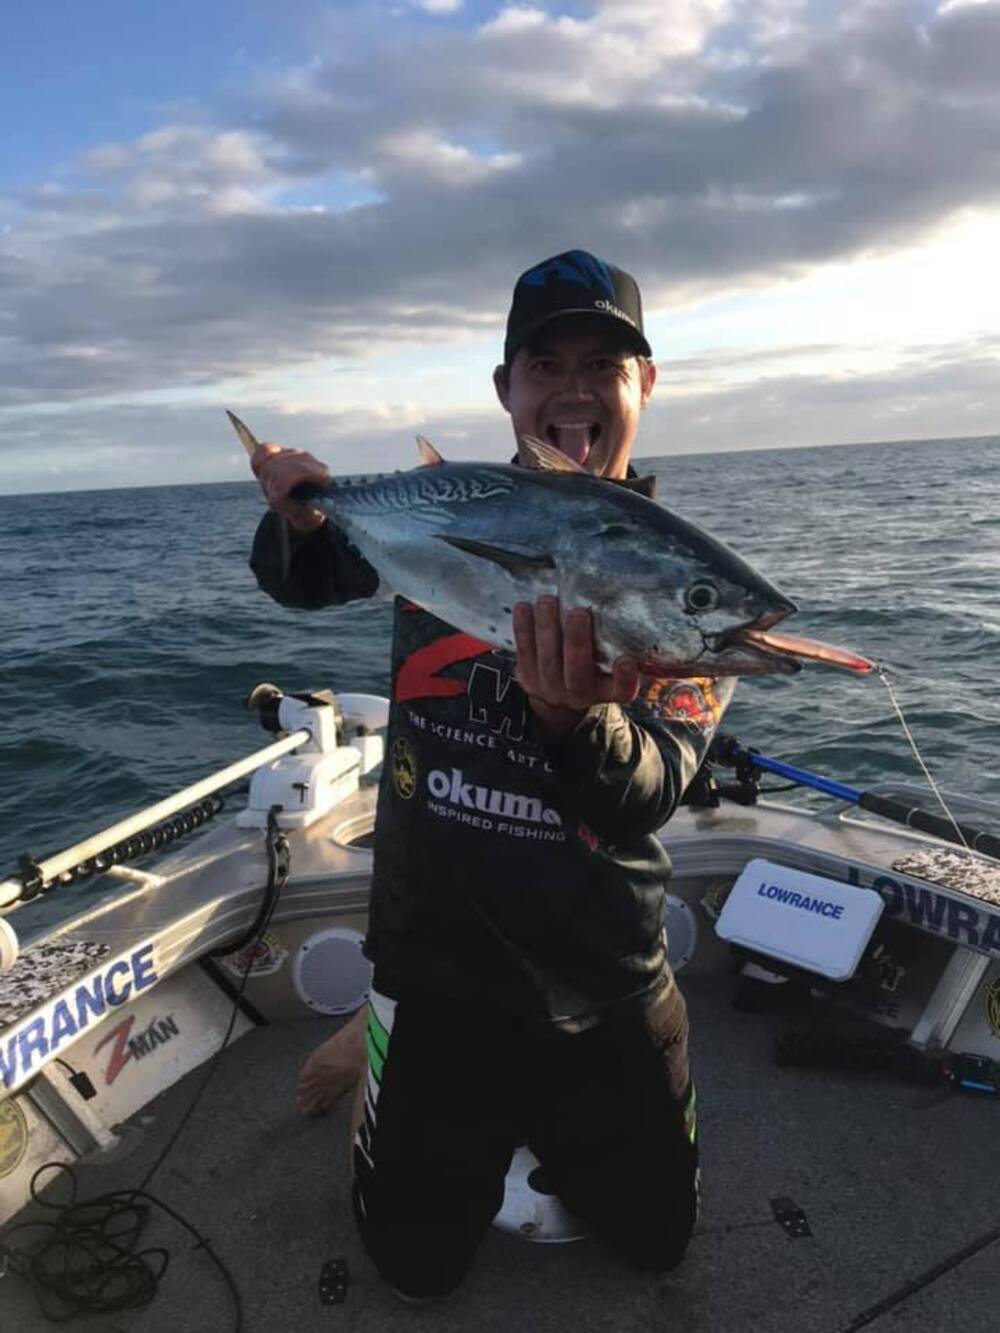
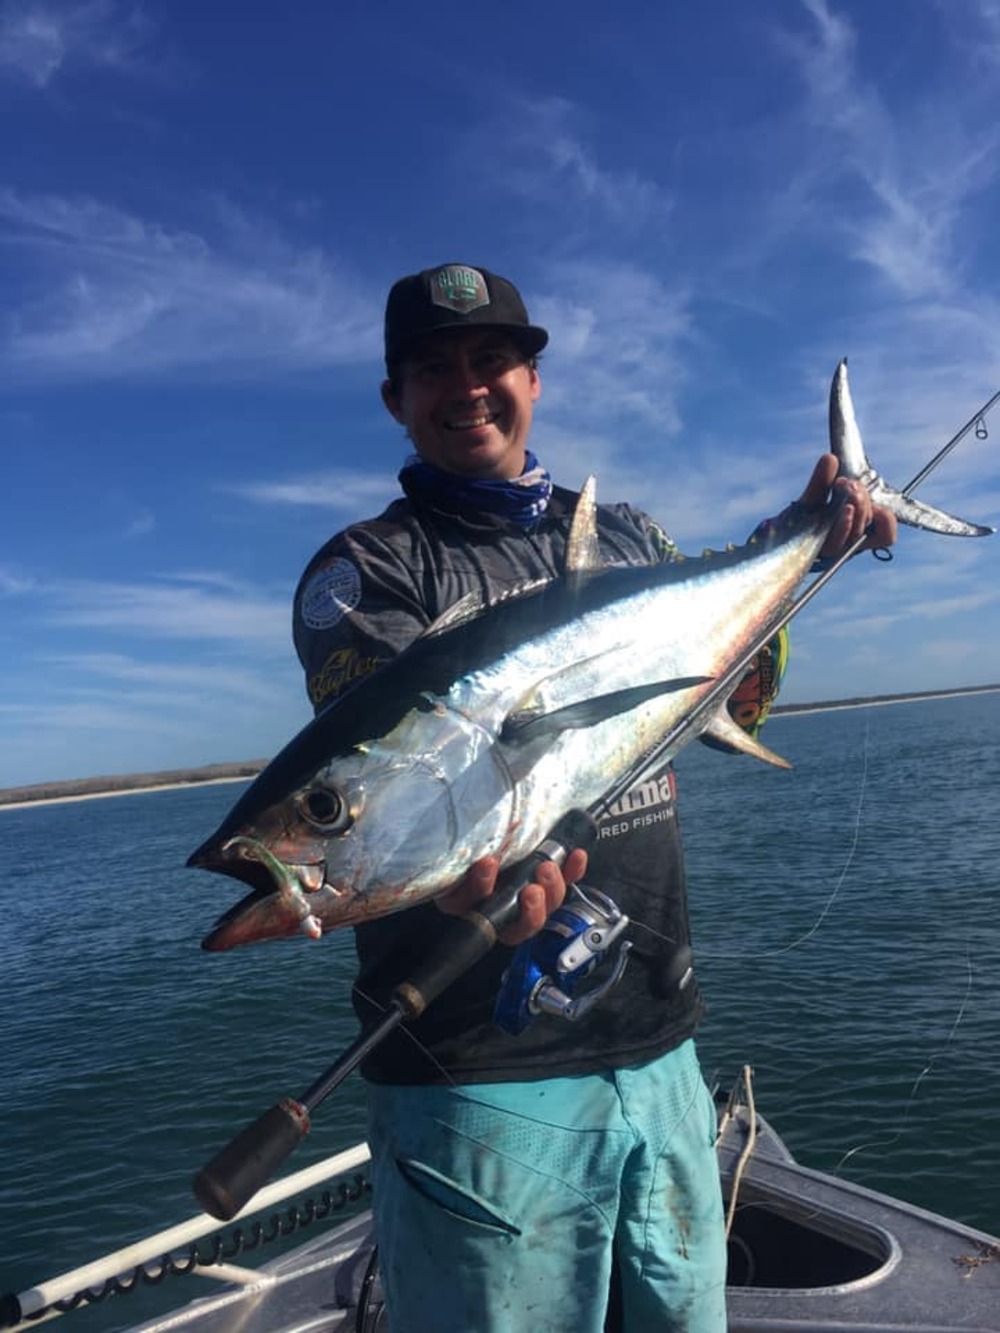
So, as many of you have gathered, chasing down tuna schools each year is one of my favourite forms of fishing. This can often be a frustrating affair, with hours and hours spent casting at tuna schools that are top side for thirty seconds or less, before disappearing and then reappearing hundreds of metres away. Thinking back over the years there has been some clear standout presentations that have worked. In this article I’ll take you through the three that I like the most.
For those of you that have never chased tuna schools around, we basically head offshore, into the bays and even along the back of the surf, looking for tuna smashing bait on the surface. First indicator that there’s action on the surface is birds circling above, looking intently at a particular spot in the ocean, as they wait for the tuna to push the bait schools to the surface.
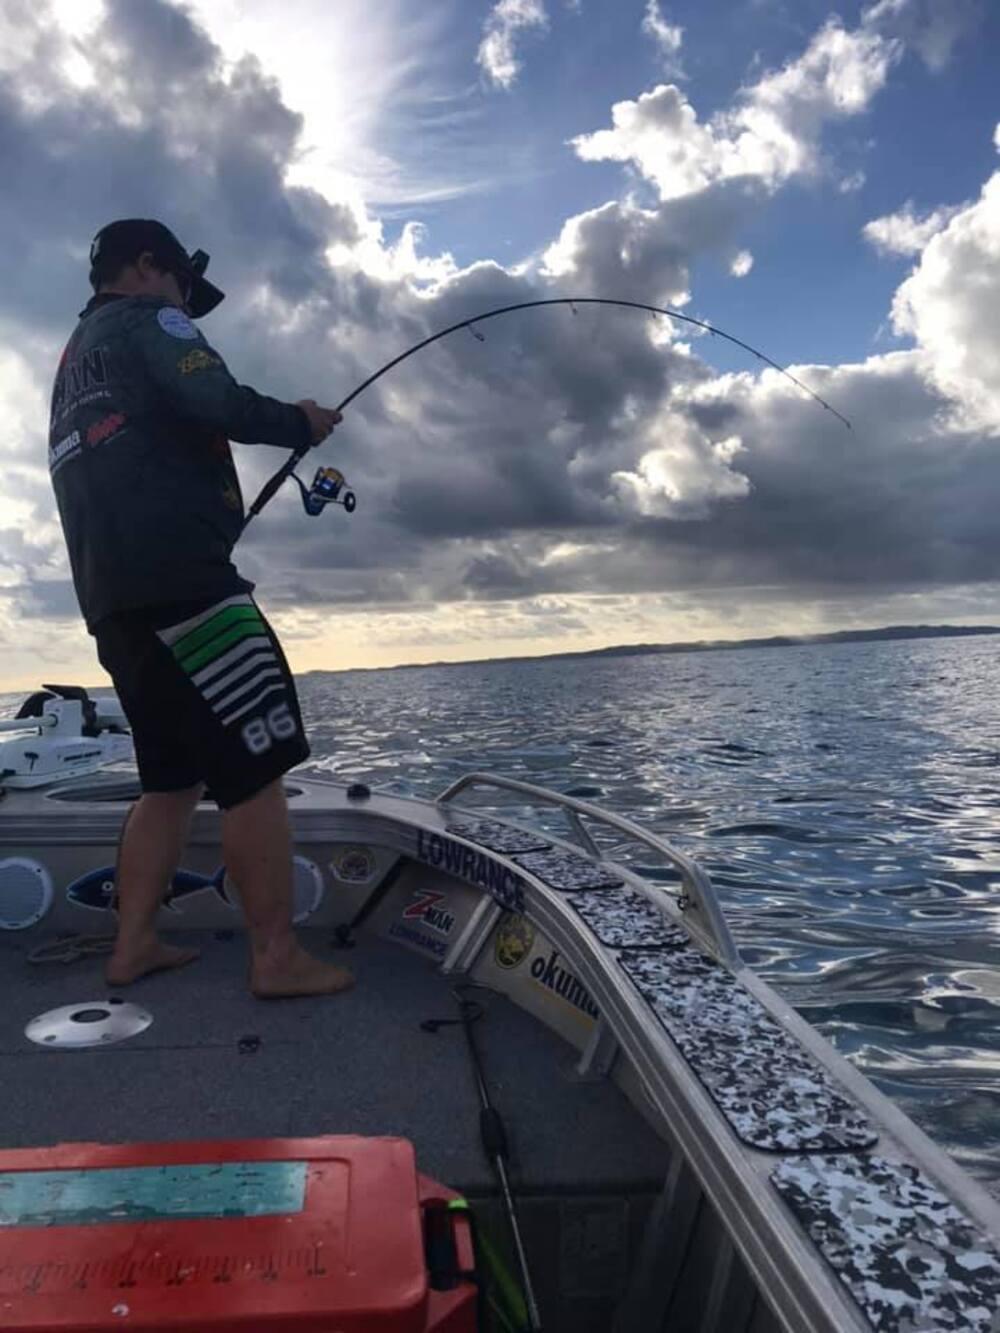
Once the bait is within range, the birds will attack from above and the tuna will attack form below, until the water turns into a foaming mess of bait, tuna, and birds. This can be complete chaos, sometimes just briefly. For us anglers, once onto the schools, we’ll get one or two casts in before they drop again and as you can imagine, getting your presentation right can often mean the difference between a successful session or a terrible one.
Barring the days that the tuna will eat anything you throw at them, identifying the bait is key. Some days it will be a 2” white bait, while the next it could be schools of herring and another day flying fish. In some cases, it could even be all of them in one day. So, keeping your eyes peeled for what’s on the tuna menu is a must for keen tuna anglers. The three presentations that follow are my go-to presentations for tuna and they are always my starting point for a session.
Metal Lures
First up I’ll start with the metals and in my case that’s the TT Hard Core. Size wise they come in 20, 30 and 40 grams, with a range of colours to choose from. Being a smaller lure, I’m often casting these on a 3-6kg rod, matched up with a 4000 size reel. Now, in the past I have done very well sending this lure into schools of tuna and getting locked onto fish, usually by cycling between the blue, black and green colours. It may not seem like a massive thing but when it comes to tuna fishing these subtle changes can often make the difference. Recently added to the range is a Pearl colour and I can’t wait to get a shot at the longtail tuna with it. I honestly think this will be a dynamite colour.
Retrieve wise things are simple when using this presentation. Firstly, get to within a cast distance of the school, then rather than randomly casting anywhere into it, try to identify the direction in which the fish are travelling (it’s okay, sometimes you will have no idea). I try to land my cast just in front of the lead fish and once the lure has hit the deck, I let it drop for a few seconds and then wind like crazy.
Stickbaits
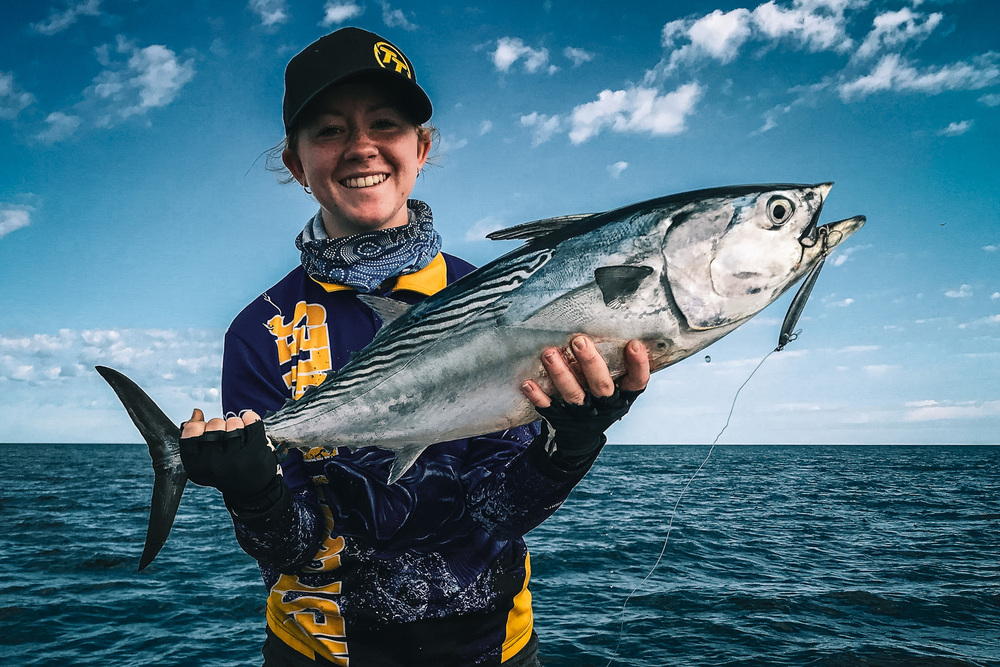
Next up is the Fish Inc. Flanker, a long and slender stickbait. Now, these lures took over the mantle from the TT Hard Core one year. The long, thin profile means that it casts well, which is excellent for making those longer casts to finicky fish. Once again, it comes in a range of colours, with my favourite being the Clear Pearl. It also comes in two different sizes, 85mm and 115mm, which makes it great for dialling into a bait size for the day.
Rod and reel wise, I look to throw these guys on either a 4-8kg or 5-12kg spin setup, with either a 4000 or 5000 size reel. Once again, like the TT Hard Core, some years these lures will outperform all others. As I’ve mentioned, it all comes down to what bait the tuna are dialled into and a lot of the time for us they are dialled into white bait, so the 85mm Flanker works great. Mostly it’ll be Clear Pearl, Halfbeak (garfish) or Natural (silver/black) as my go to colour choices. Now that I’ve said all of that, I won’t shy away from throwing the big brother Flanker either, which is the 115mm and 28g weight, especially if I think there are some larger fish holding down deep.
Retrieve wise for me is the same as the TT Hard Core above. The only thing that I do differently is allow it to sink initially for a little longer, depending on how the fish are biting. Sometimes it doesn’t matter, and it will get eaten as soon as it lands.
Last and definitely not least, the ZMan 3.75” StreakZ
Now, I’ll call this my never-fail, hail Mary, when we haven’t been able to convert on the previously mentioned presentations. It is the 3.75” ZMan StreakZ, a 10X Tough, ElaZtech soft plastic jerk shad, and we usually rig this bad boy on a 3/8oz, 1/2oz or 5/8oz TT HeadlockZ HD jighead, which can see you pushing it onto some fairly large hook sizes. With these weights we can make the casting distance without spooking the tuna.
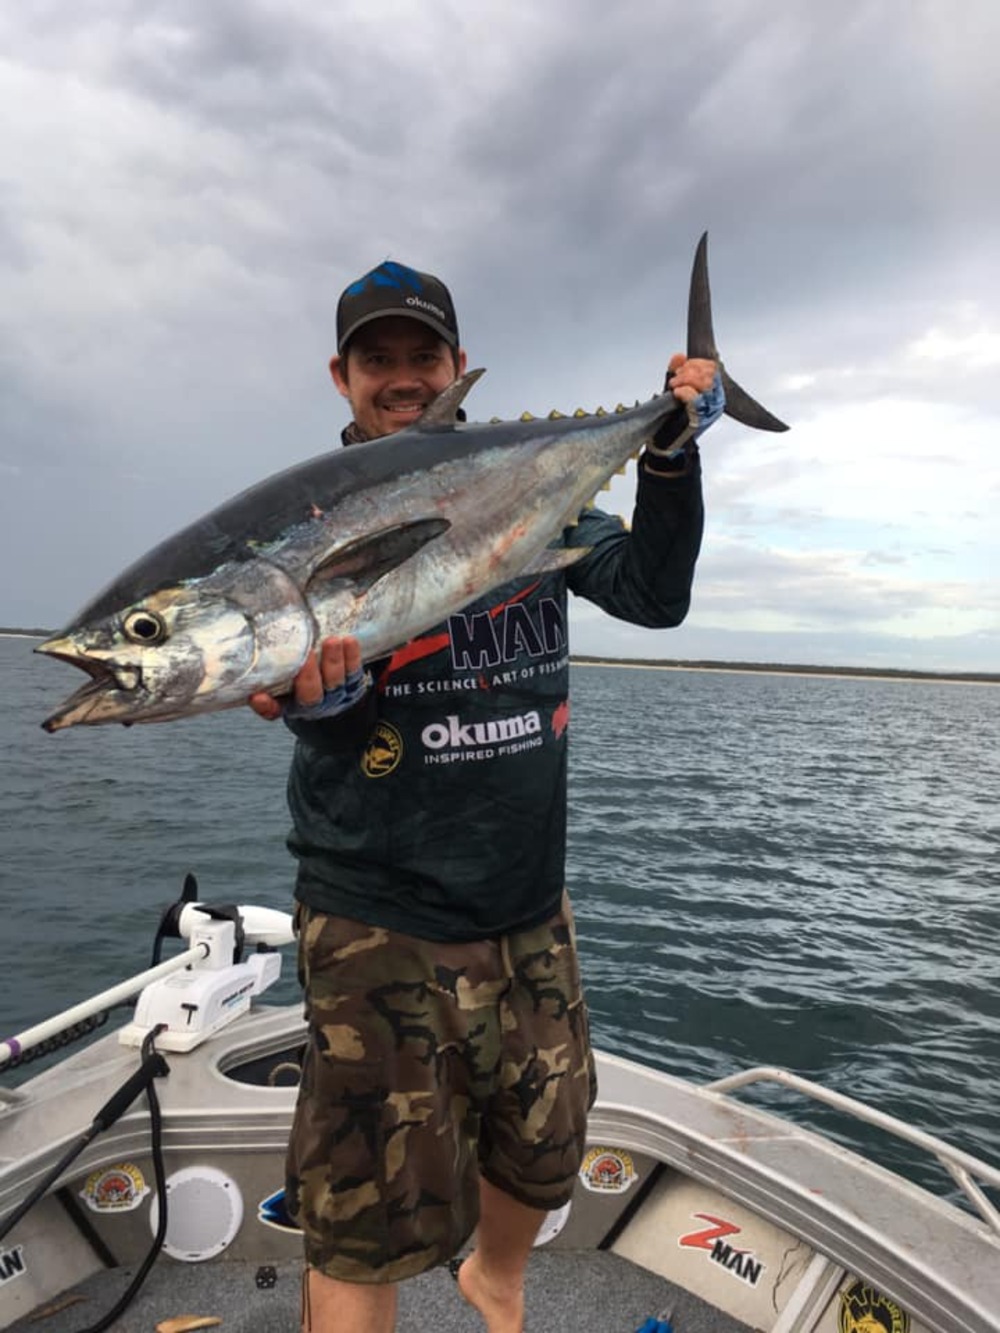
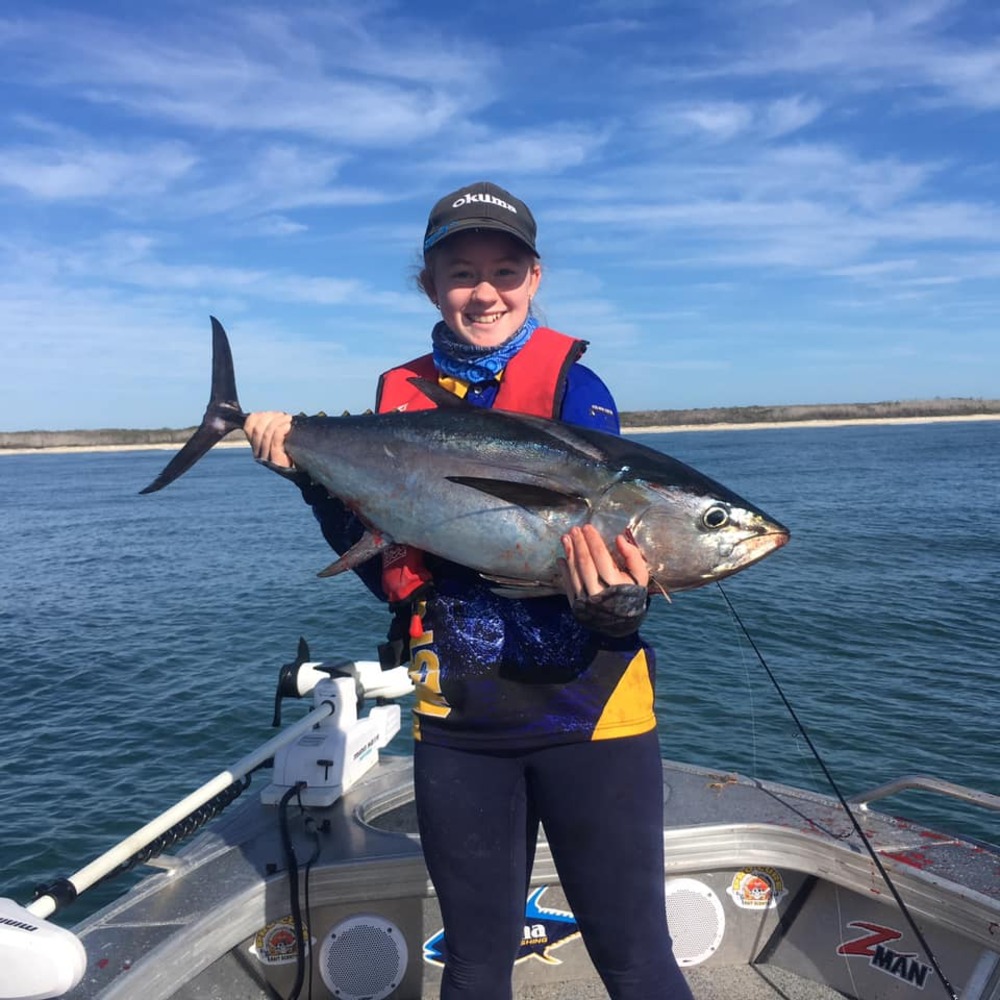
Colour-wise our absolute favourite is Baby Bass. This colour has tempted not only mine, but also my daughter Kaitlin’s PB tuna. I find that this little presentation covers a lot or different bait types and so I have found that I don’t have to be as critical with matching the hatch. To be honest, it just works and catches fish. Depending on the size of the tuna and the weight of the jighead we are using, rod wise we will throw this using a 3-6kg rod, all the way through to the Okuma Pressure Point stickbait rods. Basically, it’s lighter jigheads on the light rods and heavier jigheads on the heavier rods.
Retrieve wise is again the same as above. Position a cast distance off the school and aim to land your plastic in front of the lead fish. Most of the time the fish will pick it up on the drop (sink) and you’ll be struggling to get your bail arm over as the line is being ripped off the spool. When it comes to working soft plastics through the school, I find that quick rips and pauses work best. Some days it’s a long quick burn (wind) and others it’s a shorter rip and longer pause. I guess what I’m trying to say is to have a play with your retrieve until you find the one that works.
If you’ve never chased tuna before it can be both an exciting and frustrating affair. If I was to give you three pointers to help get you hooked up it would be these.
- Match the Hatch - Try and find out what the tuna are smashing and then try and match your lure to the size and colour.
- Keep it Constant - Tuna don’t like engine pitch changes. I try and idle into a school where possible or head them off if they are travelling in one direction. That will usually be into the wind or current.
- Keep it Light – You don’t always have to go for the heaviest tackle. Some days lighter combos are better, and you can always chase them down in the boat. Some of our best fish have been landed on 3-6kg gear, running 20lb leader and braid.
Cheers for reading. Screaming Dragz!
Sean Bekkers (Outcast Angler)